Twitter scheduler for growing brands and professionals
Create and schedule Twitter threads, tweets & more in seconds. Sign up for a free account.
Better Writing Experience
Approved by Twitter
Works on Mobile
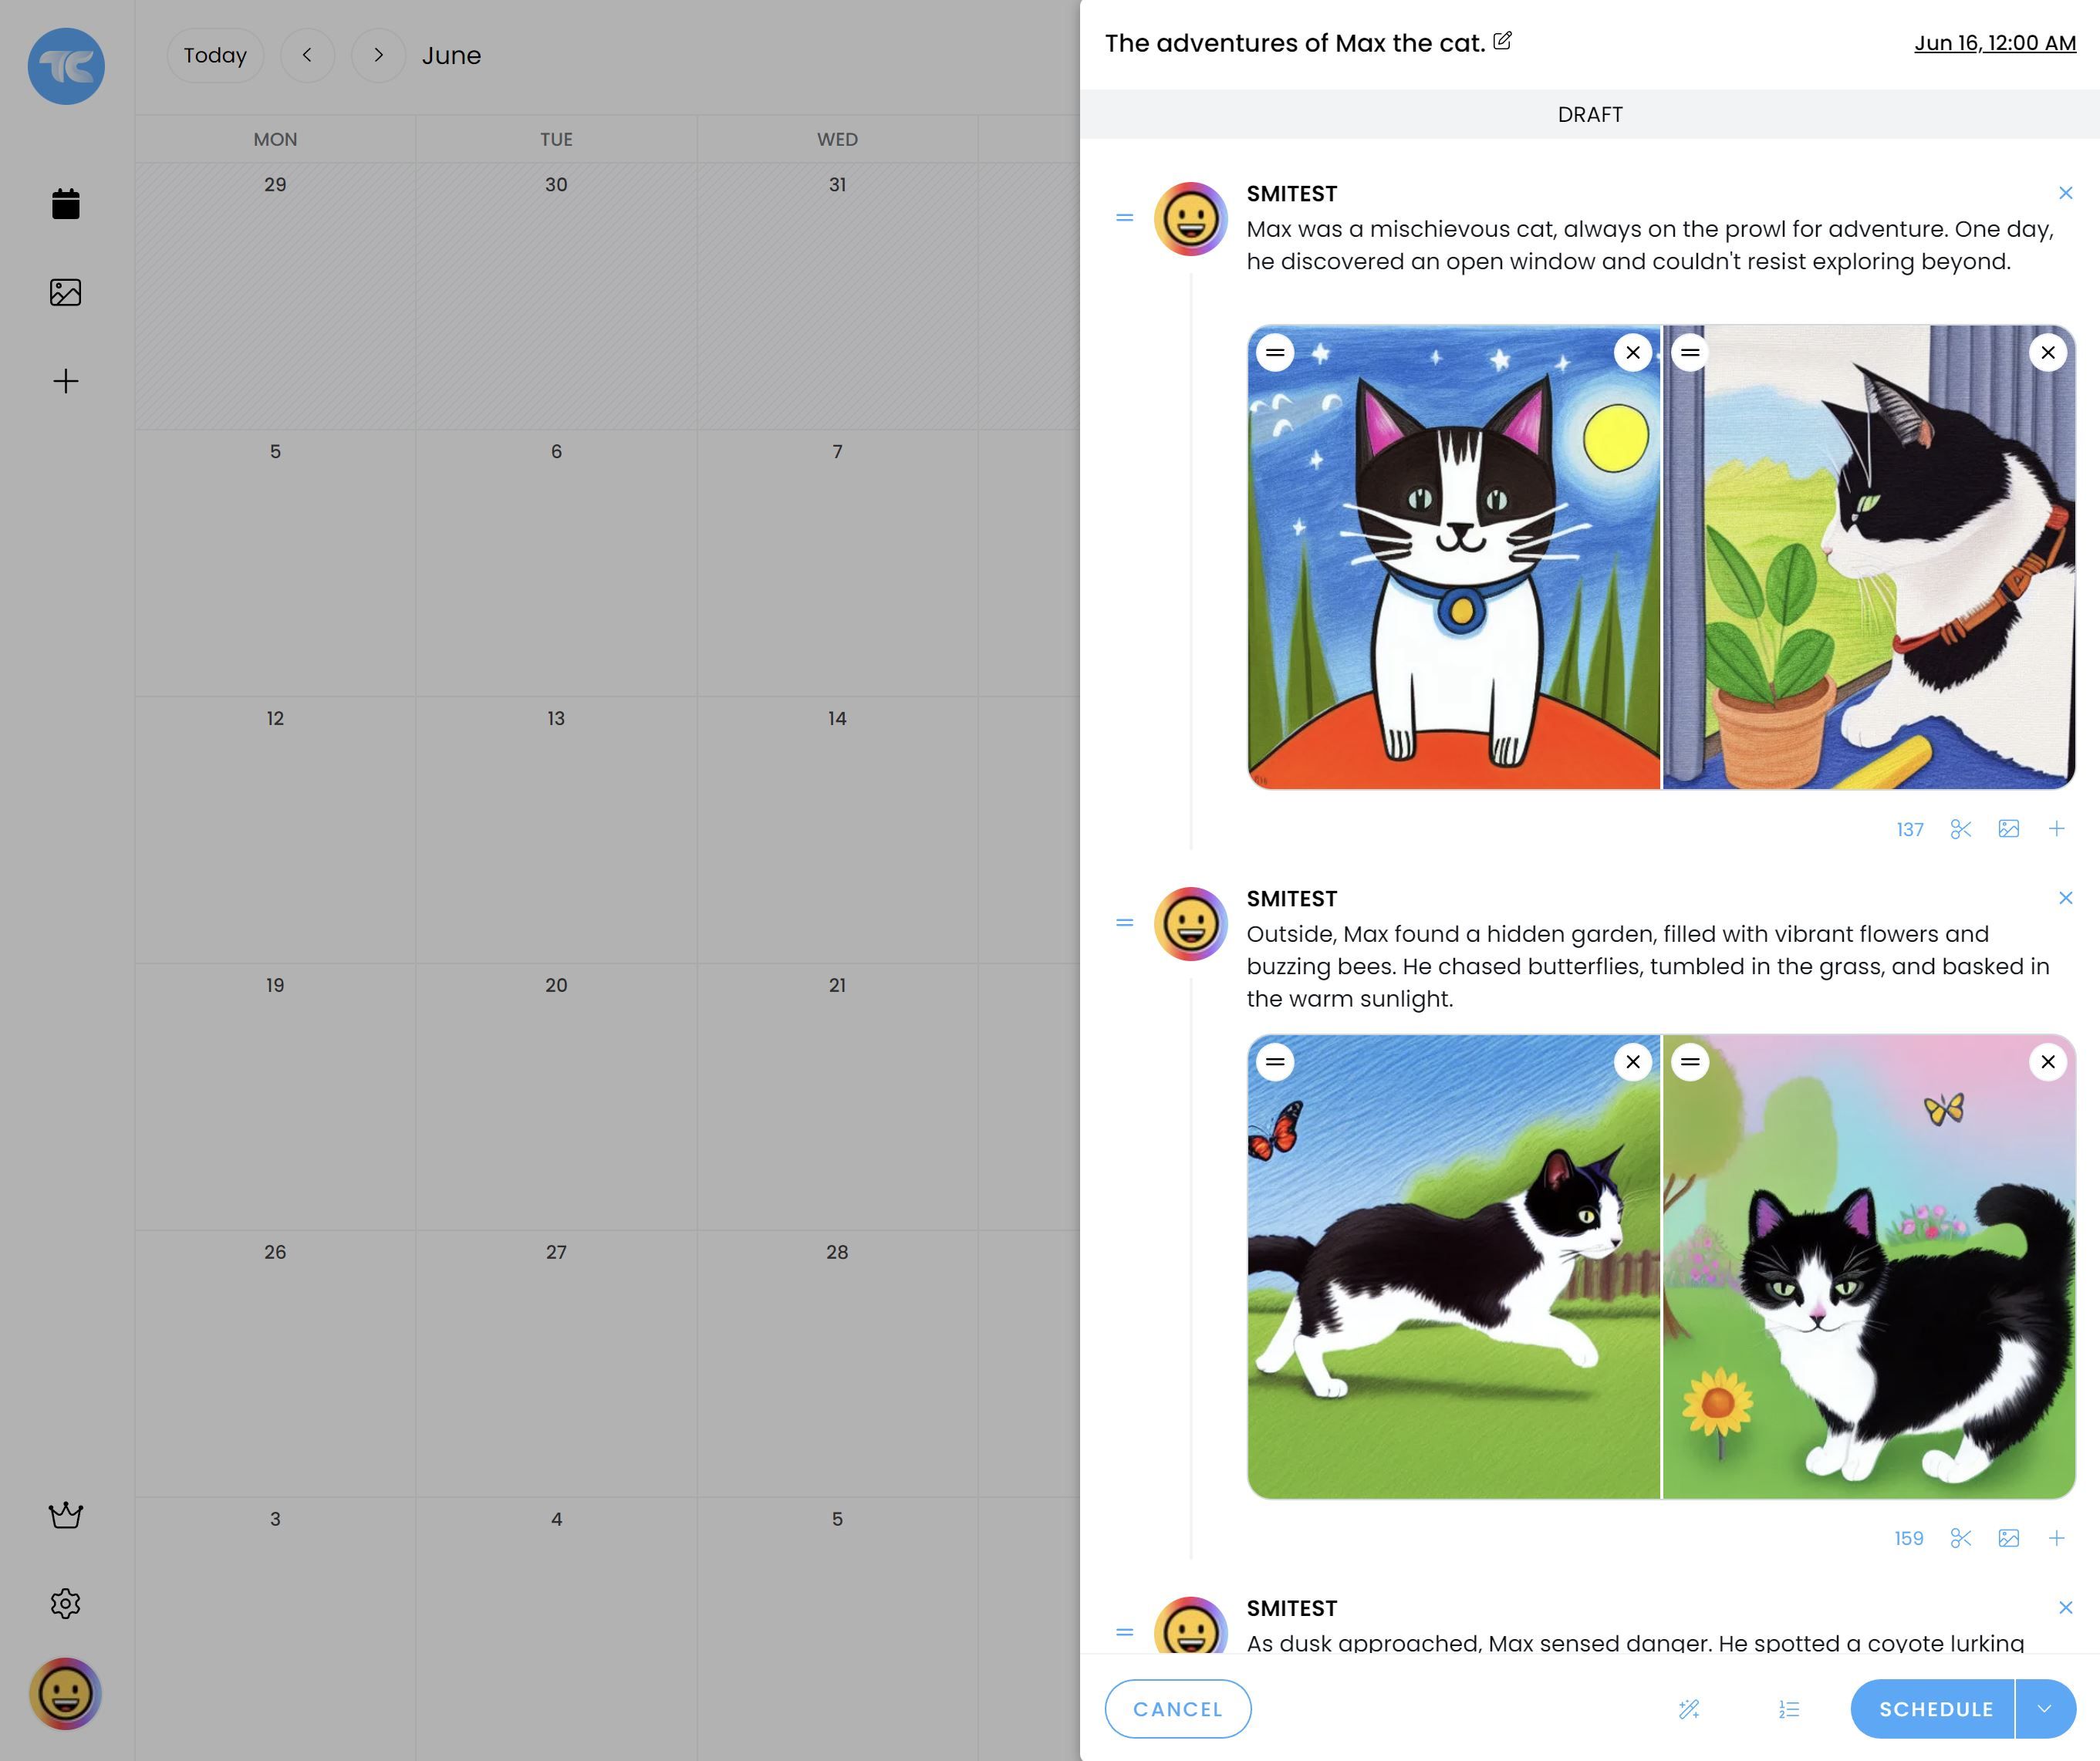
Makes creating threads fun.
Schedule threads and tweets with ease. Add media, drag to re-order, add numbers and more. You'll never write a thread in Twitter again.

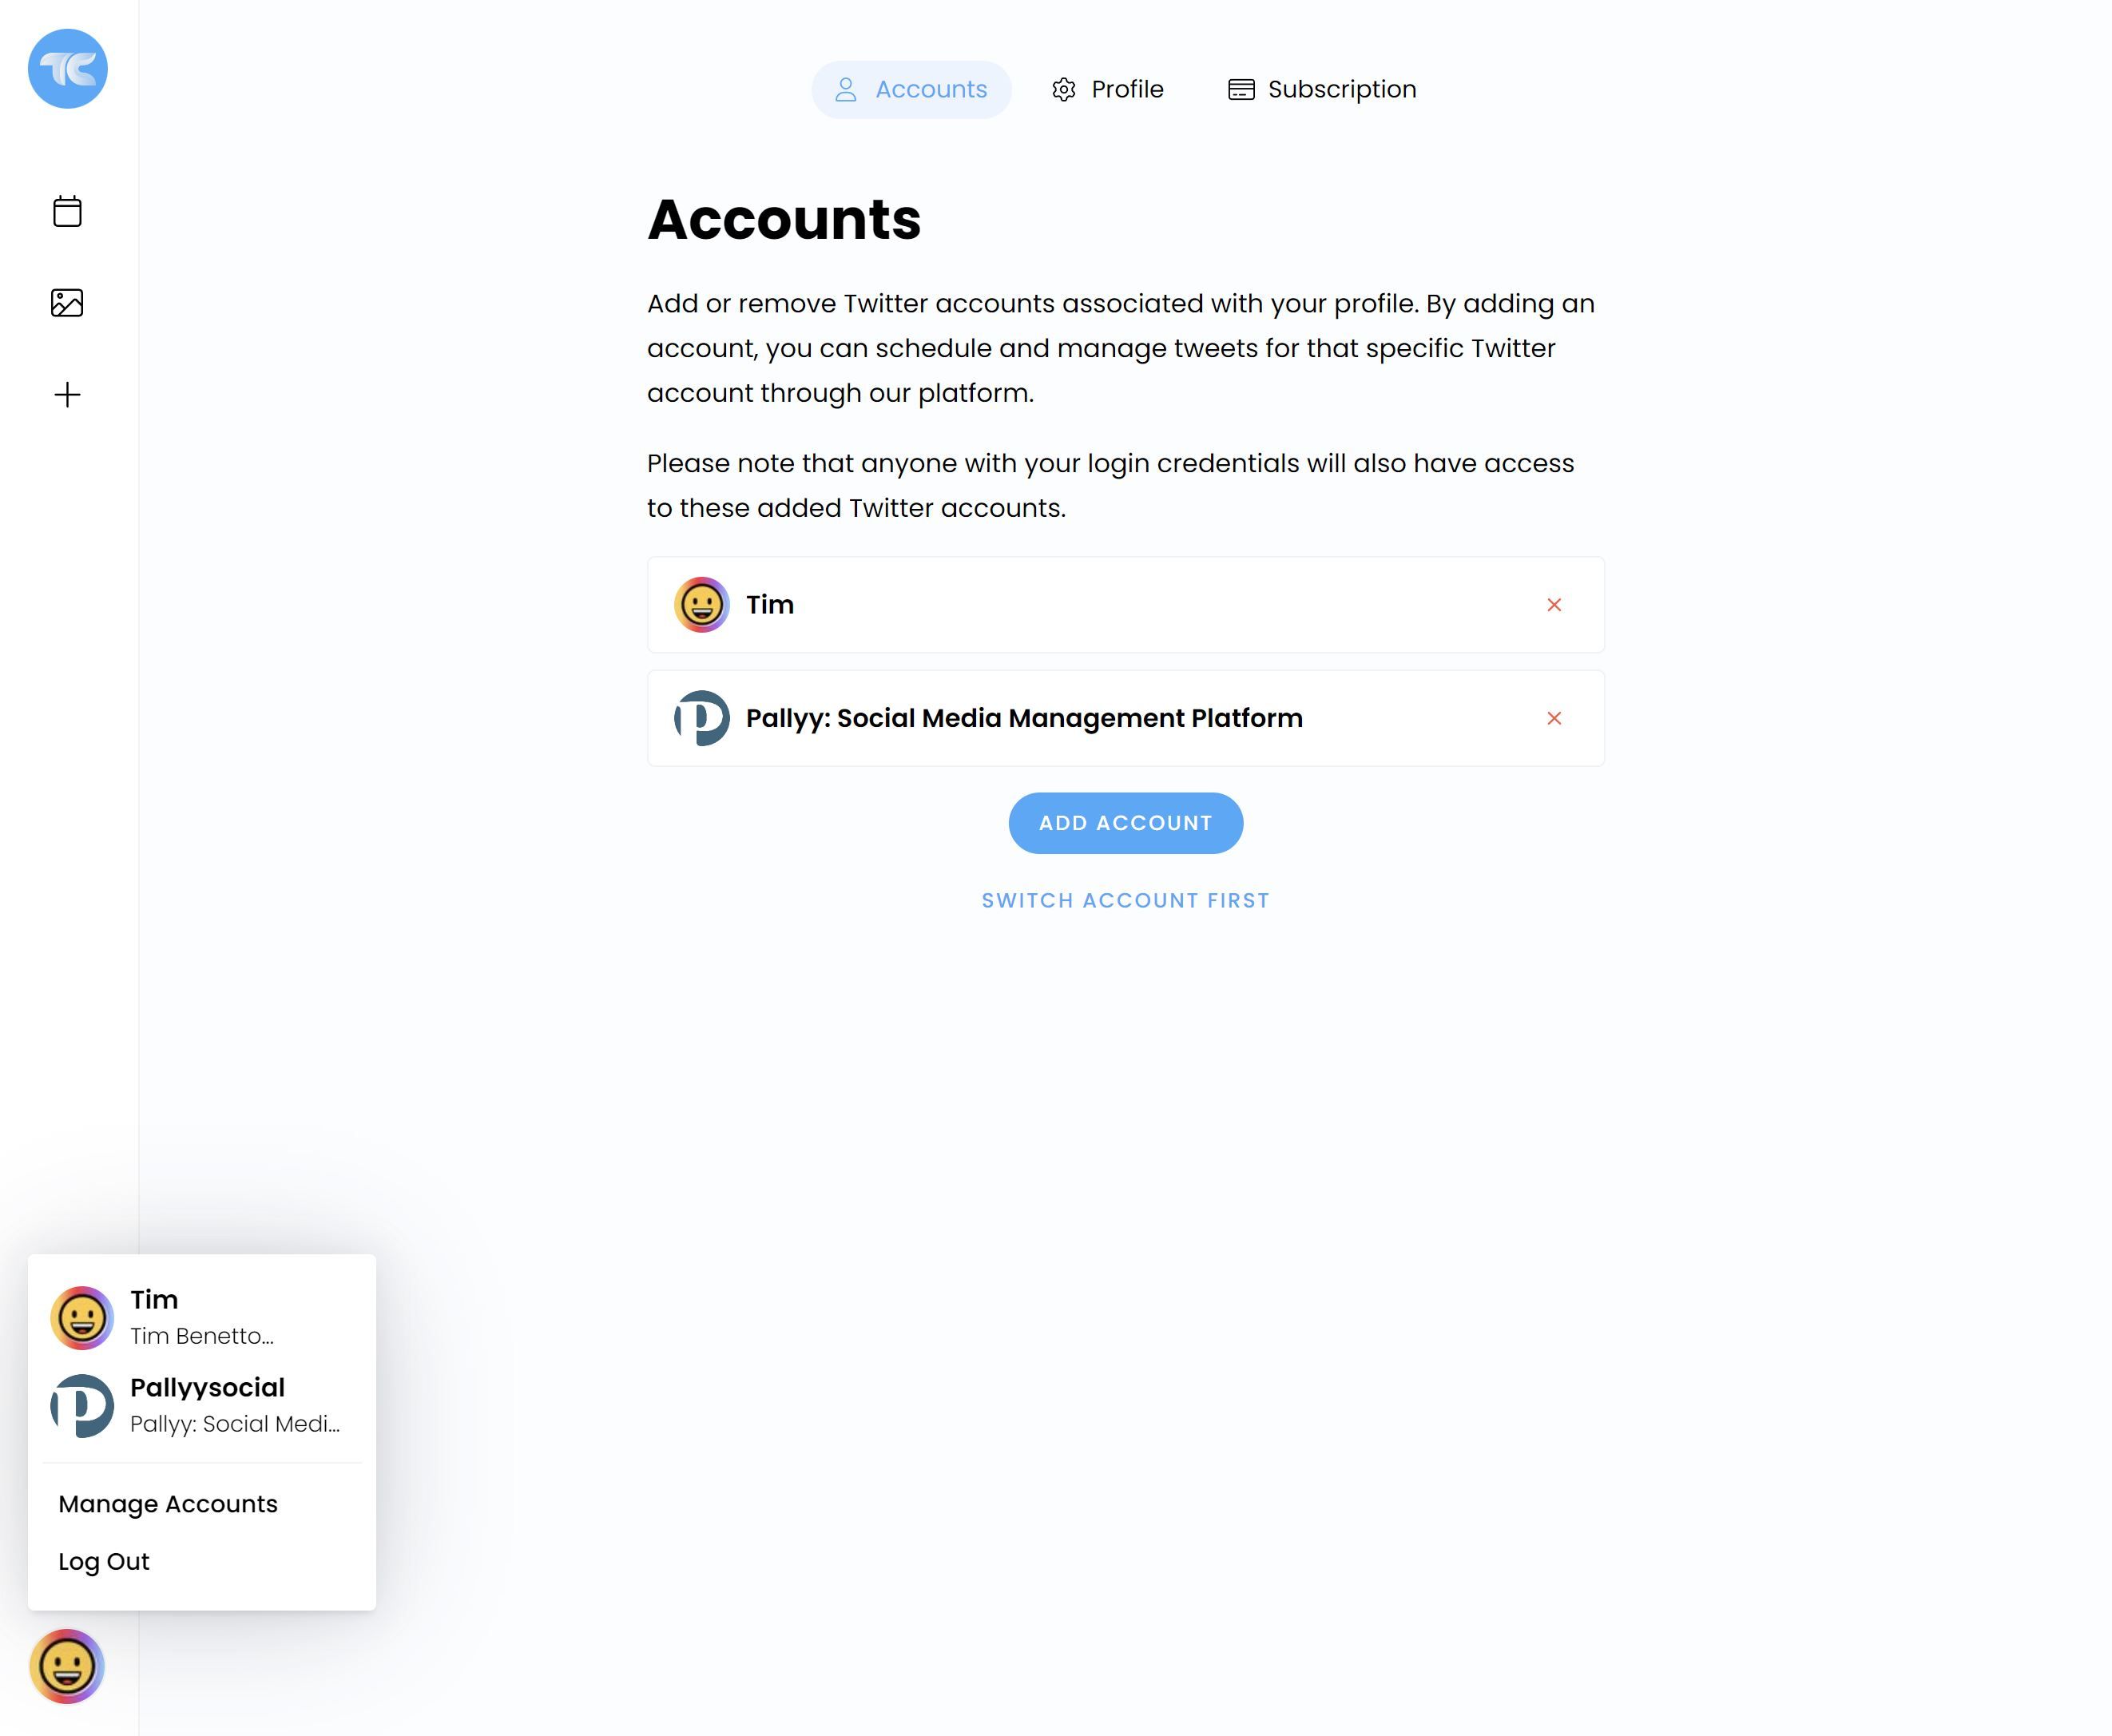
One hub for all your accounts.
Connect all of your Twitter accounts into Thread Creator and easily switch between them at anytime.
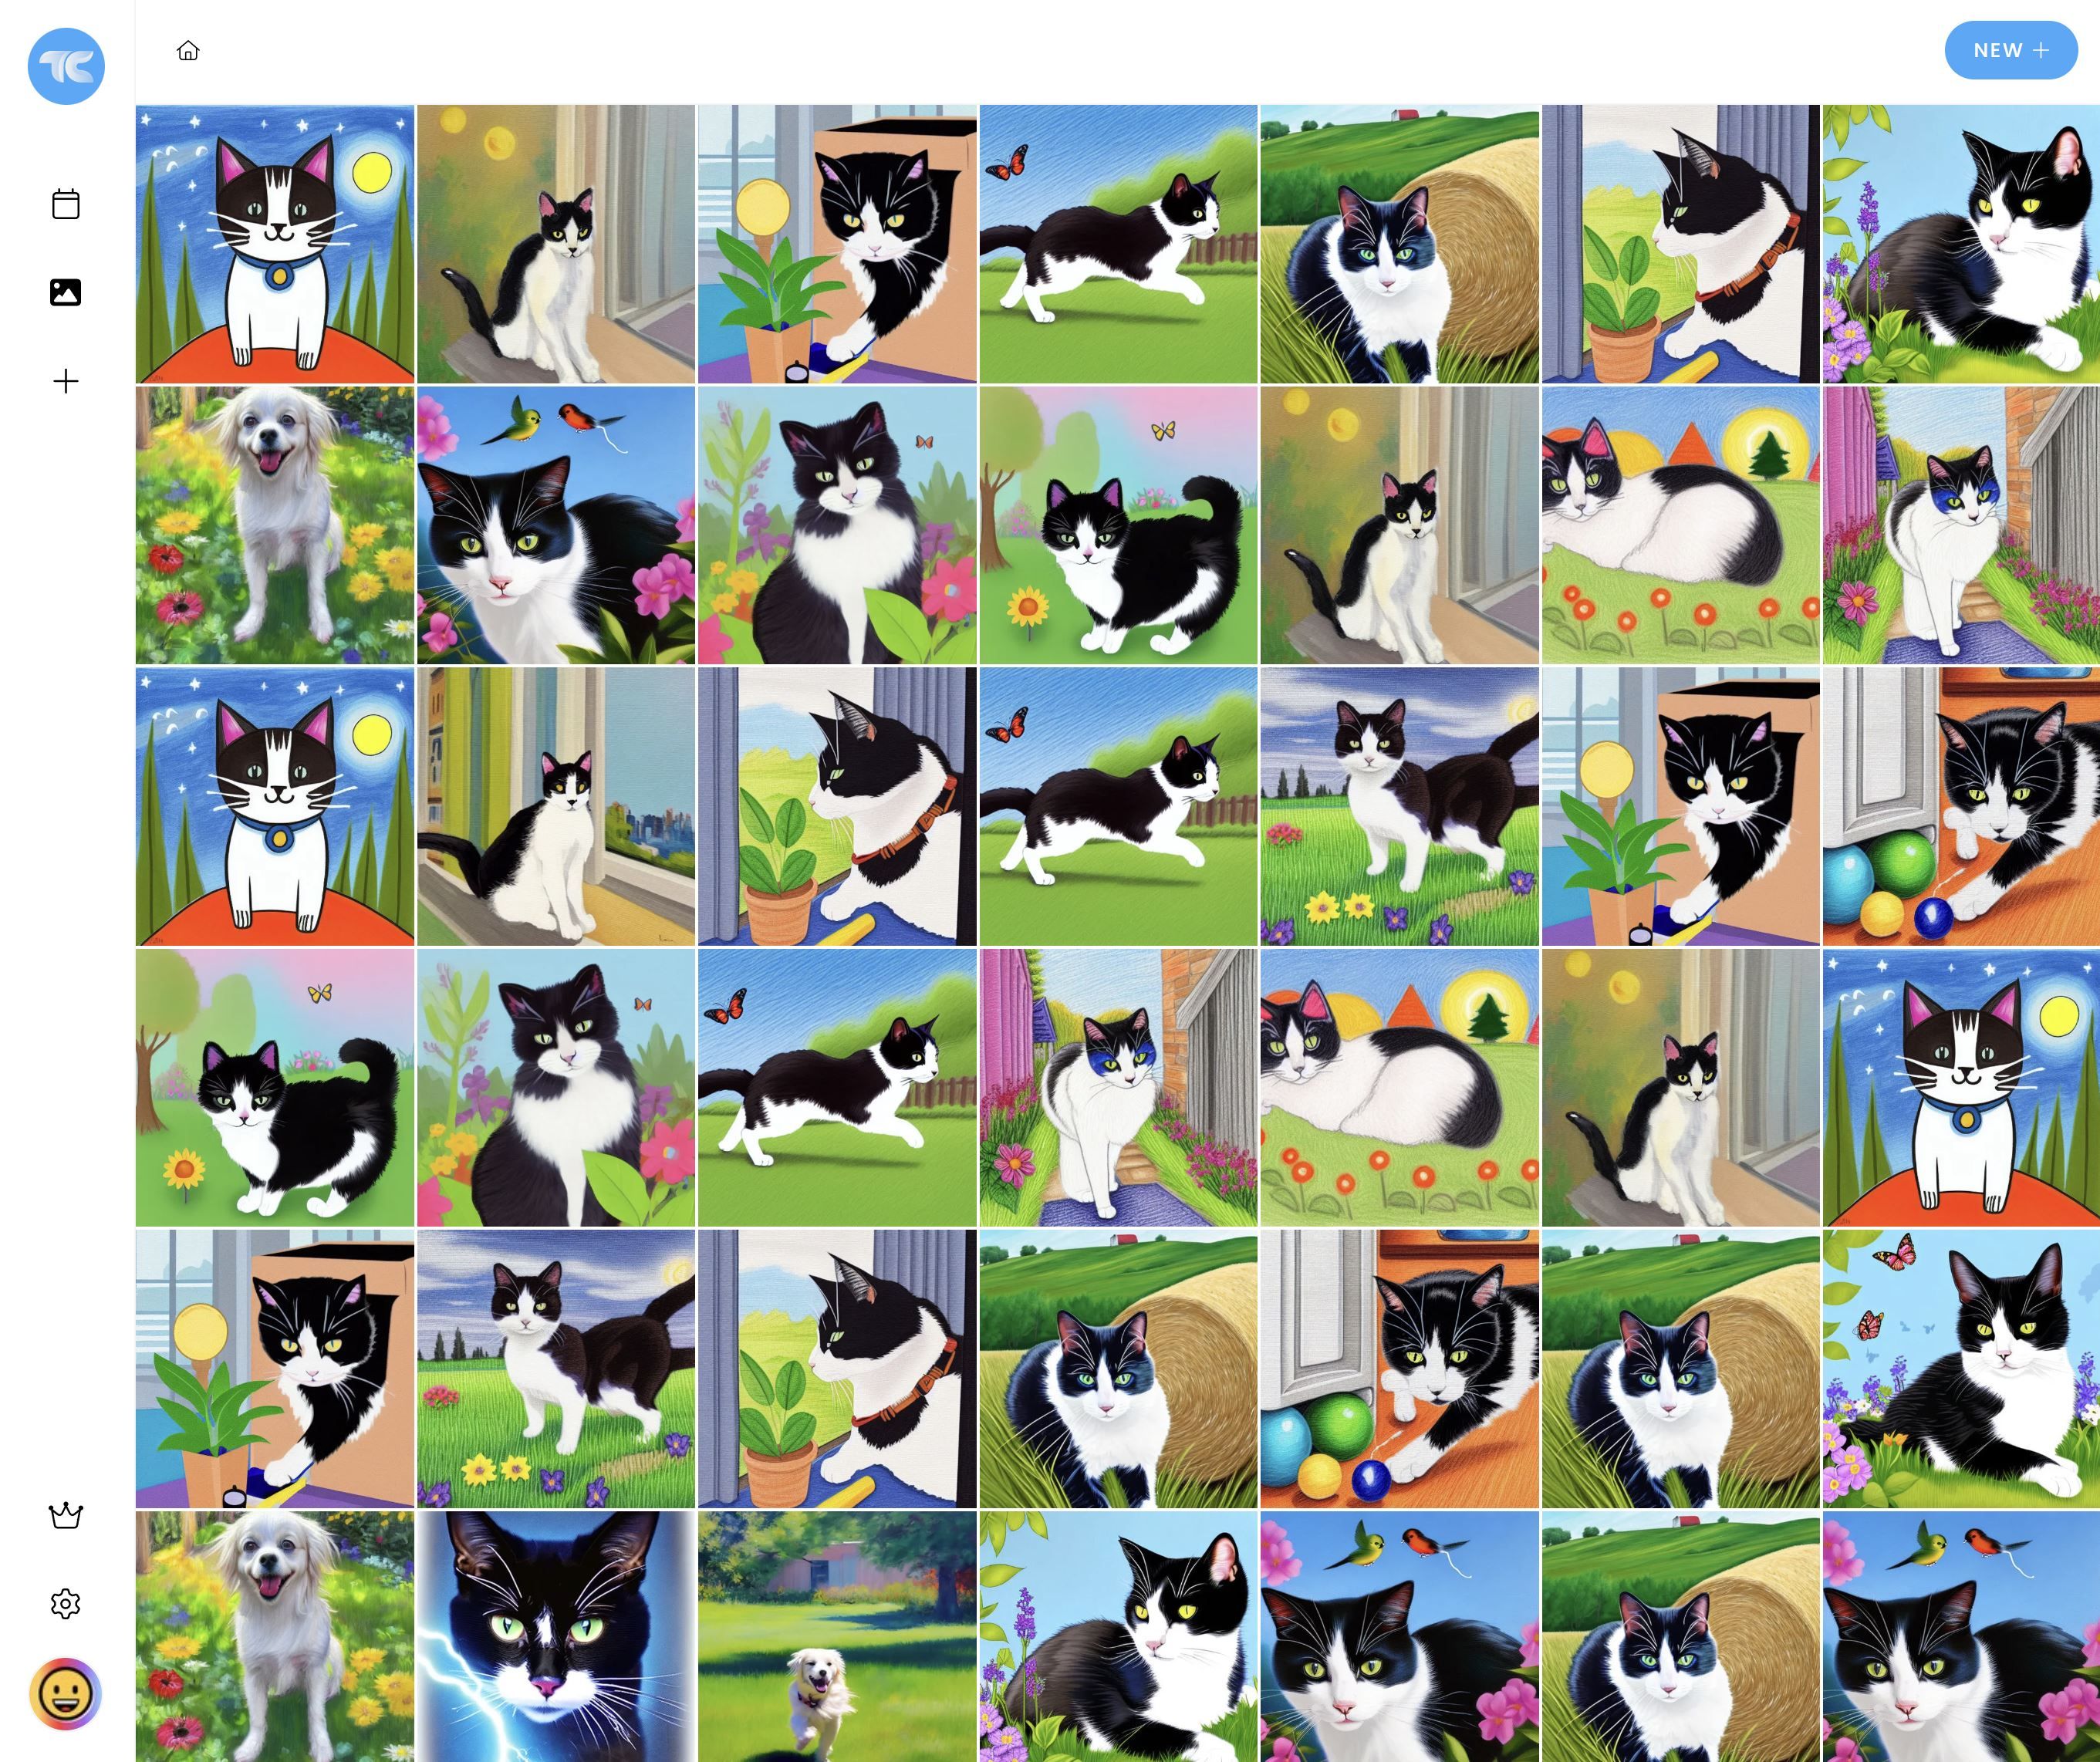
Everything in the one place.
Upload and store your media in bulk, then use it to create image, video or carousel posts in seconds.
Ready to step up your Twitter scheduling?
Schedule 5 tweets per month for free, upgrade for unlimited.